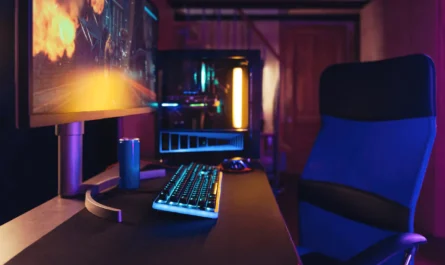
Building your first gaming PC can be an exciting and rewarding endeavor, especially if you’re working with a tight budget. By selecting the right components and piecing them together yourself, you can create a powerful gaming machine without breaking the bank. This guide will walk you through the process, from selecting your parts to assembling them into a cohesive unit.
Understanding Your Needs and Budget
The first step in building a budget gaming PC is understanding your gaming requirements and setting a realistic budget. Consider the types of games you want to play and their hardware demands. For example, if you’re into fast-paced shooters or graphically intensive open-world games, you’ll need a more powerful setup compared to games with simpler graphics.
Next, establish a budget range. Building a budget gaming PC doesn’t mean you have to compromise on performance entirely; rather, it involves making smart choices about where to allocate your funds. Decide how much you’re willing to spend and try to stick to it. This will guide your component selection process.

Selecting the Right Components
Central Processing Unit (CPU)
Your CPU is the brain of your computer. When choosing a budget-friendly processor, look for models that offer a good balance between price and performance. Consider reputable brands known for their value-oriented CPUs, and aim for a model that supports the latest technologies.
Graphics Processing Unit (GPU)
The GPU is crucial for gaming performance. For a budget build, consider entry-level or mid-range GPUs that provide decent performance without the high cost. You can often find last-generation models that deliver great value and performance for most games at medium to high settings.
Motherboard
Choose a motherboard that is compatible with your CPU and has the necessary features for your build, such as sufficient ports and expansion slots. Budget-friendly motherboards often offer the essentials without unnecessary extras that hike up the price.
Memory (RAM)
Around 8GB to 16GB of RAM is typically sufficient for most gaming needs. Opt for a RAM kit that offers a balance between speed and cost. Memory with higher frequencies can offer better performance but also tend to be more expensive.
Storage
Solid State Drives (SSDs) have become more affordable and provide much faster load times compared to traditional hard drives. Consider a combination of an SSD for your operating system and key games, along with a larger HDD for other storage needs if your budget allows.
Assembling Your PC
Once you have all your components, it’s time to assemble your PC. Start by preparing your workspace with all necessary tools, such as screwdrivers and an anti-static wrist strap to prevent electrostatic discharge.
Installing the CPU and RAM
Begin by installing the CPU into the motherboard. Follow the instructions in your motherboard’s manual to ensure correct installation. Once the CPU is in place, insert the RAM sticks into the appropriate slots, applying gentle pressure until they click into place.

Mounting the Motherboard
Place the motherboard into your case, aligning it with the standoff screws. Secure it in place with screws, ensuring that it is firmly mounted without applying too much pressure.
Installing the GPU
The GPU is typically one of the larger components, so ensure your case has enough space. Insert the GPU into the PCIe slot on the motherboard and secure it with screws.
Connecting Storage and Power Supply
Install your SSD and HDD into the respective mounts in your case. Connect these drives to the motherboard using SATA cables. Finally, install the power supply, connecting it to the motherboard, GPU, and storage devices according to the power needs of your components.
Initial Setup and Testing
With your PC assembled, it’s time to test it. Connect your monitor, keyboard, and mouse, then power on your system. Enter the BIOS setup to ensure all components are detected correctly. From here, you can install your operating system and required drivers.
Common Mistakes to Avoid
One common mistake is underestimating the importance of a quality power supply. Ensure your power supply can handle the power requirements of your components with some headroom for future upgrades.
Another pitfall is neglecting to check component compatibility. Double-check that all parts, especially the motherboard, CPU, and RAM, are compatible with each other before purchasing.

By following this guide, you can build a budget gaming PC that meets your needs without overspending. Remember, patience and careful planning are key to a successful build.

Unlock Full Article
Watch a quick video to get instant access.