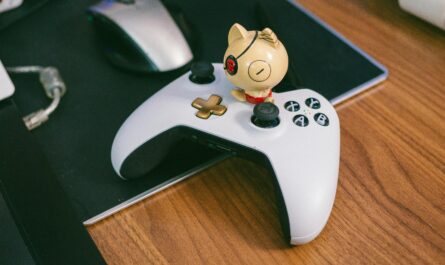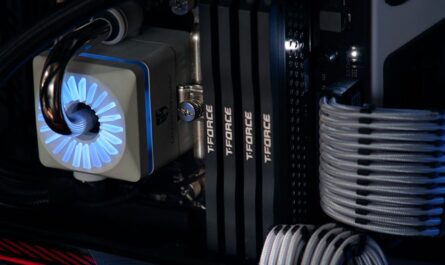
For PC gamers passionate about the nostalgia of retro games, building a dedicated retro gaming console can be a rewarding and cost-effective endeavor. This guide will take you through the essential steps to create your own retro gaming console for under $100, making it easier than ever to relive the classics.
Understanding the Basics
Before diving into the build, it’s crucial to understand what makes a retro gaming console tick. Essentially, you’ll need hardware capable of running emulation software that replicates the old gaming systems. This typically involves a small, affordable computer and some additional peripherals.
Choosing the Right Hardware
The backbone of your retro gaming console will likely be a single-board computer. Popular choices include the Raspberry Pi, which offers a good balance of performance and price. It’s essential to select a model that fits your budget while ensuring it has enough processing power to handle the games you plan to emulate.
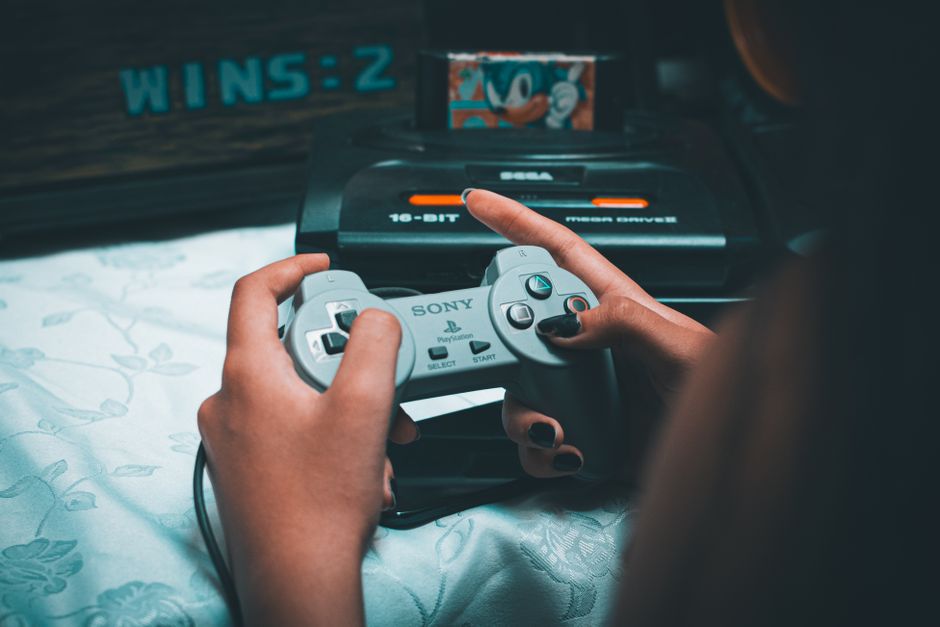
Essential Accessories
You’ll need a few basic accessories to complete your setup. This includes a power supply, a microSD card for the operating system and game storage, and a case to protect your hardware. Many of these items can be found in bundled kits that are often more cost-effective.
Installing the Operating System
Once you have your hardware, the next step is to install an operating system that supports gaming emulation. RetroPie is a popular choice, as it offers an intuitive interface and supports a wide range of systems. Follow the installation instructions provided by the software to get started.
Setting Up Emulators
With the operating system installed, you’ll need to download and configure emulators for the various gaming systems you want to play. Emulators are software that mimic the behavior of older consoles, allowing you to play classic games on modern hardware.
- Download emulators from trusted sources to ensure compatibility and security.
- Configure the emulators using guides and community forums to optimize performance.
Loading Your Game Library
A retro gaming console is only as good as its library of games. You’ll need ROMs, which are digital copies of games. Be aware of the legality of downloading ROMs in your area, as owning a physical copy of the game is often required.
Organizing Your Games
Once you have your ROMs, organize them in a clear folder structure on your microSD card. This will make it easier to browse and select games from your console’s interface.
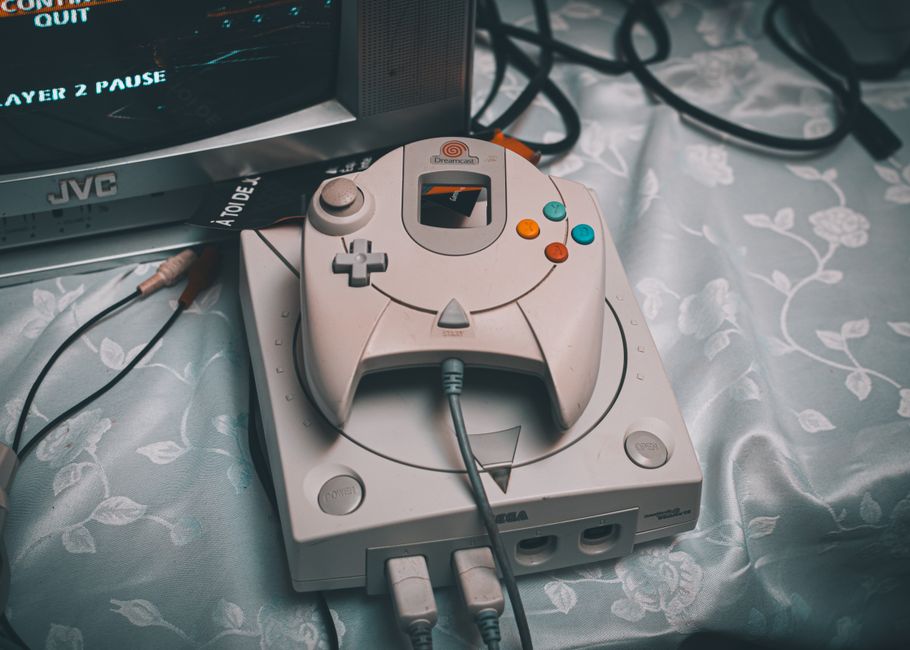
Enhancing Your Gaming Experience
Consider adding custom artwork and metadata to your games to enhance the visual appeal and ease of navigation through your library.
Connecting Controllers
A vital part of any gaming experience is the controller. Depending on your budget, you can use USB or Bluetooth controllers. Many modern controllers are compatible with Raspberry Pi and similar systems.
- USB controllers are often more affordable and straightforward to set up.
- Bluetooth controllers offer wireless convenience but may require additional setup.
Optimizing Performance
Once your console is set up, you may need to tweak settings for optimal performance. This might include adjusting video settings, overclocking your hardware for better performance, or managing the cooling to prevent overheating.
Community Support
The DIY retro gaming community is vibrant and full of resources. Forums and social media groups can be invaluable for troubleshooting and tips on enhancing your console further.
Final Thoughts
Building a retro gaming console under $100 is not just feasible but also an exciting project that brings the joy of classic gaming to life. By carefully selecting your hardware, utilizing emulation software, and customizing your setup, you’ll have a powerful yet economical way to enjoy the gaming gems of the past.

Unlock Full Article
Watch a quick video to get instant access.