
Creating your own custom gaming desk can be a rewarding project that perfectly matches your gaming needs and aesthetic preferences. Whether you’re looking for something that fits a tight space, offers extensive cable management, or just looks unique, building a desk can be the ideal solution. Here’s a comprehensive guide to help you design and build a gaming desk that’s perfect for you.
Planning Your Custom Gaming Desk
Before you begin building, it’s crucial to have a clear plan. Start by assessing your space and the equipment you need to accommodate. Consider the dimensions of your monitors, tower, keyboard, and additional peripherals. Ensure you have enough surface area not only for your devices but also for comfortable hand and arm placement during gameplay.
Prioritize Ergonomics
Ergonomics should be at the forefront of your design. Your desk should allow your monitor to be at eye-level and your hands to rest comfortably on your keyboard. Consider the height of the desk and the chair you will use. You might want to build an adjustable solution if more than one person will use the desk.
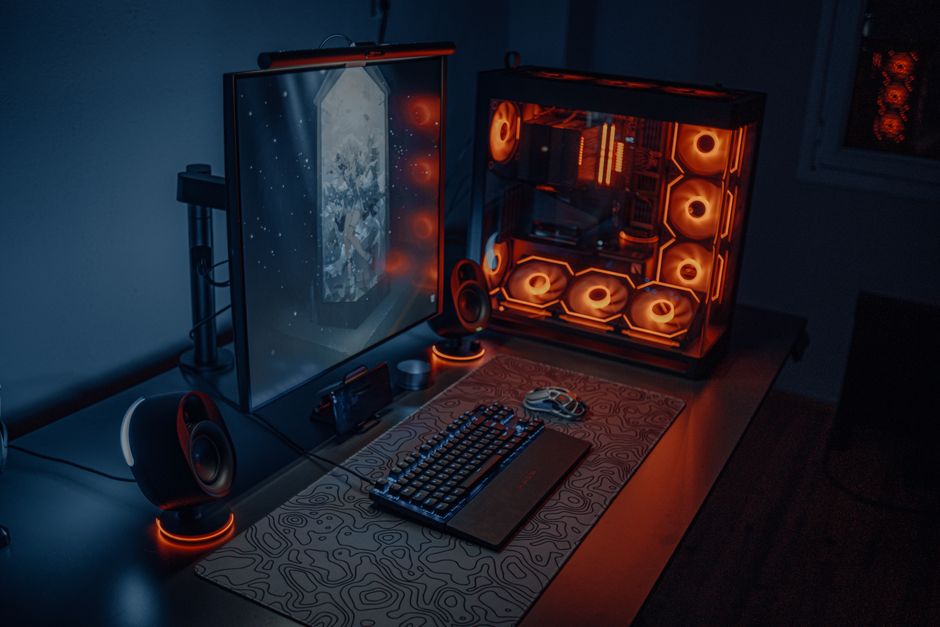
Design Style and Features
Decide on the style and additional features you want. Do you need built-in LED lighting, shelves for collectibles, or extra drawers for storage? Sketch your design to visualize how these features will fit together. Planning these elements early will help guide your choice of materials and tools.
Gathering Materials and Tools
Choosing the right materials is essential for durability and aesthetics. Commonly used materials include wood, metal, and composite boards. For a sturdy desk, consider hardwoods like oak or maple, or high-quality plywood for a budget-friendly option. Metal legs can add an industrial touch and ensure stability.
Essential Tools
The tools you’ll need depend on your design, but commonly required ones include a saw (table saw or circular saw), a drill, screws or brackets, a measuring tape, sandpaper, and a level. Having safety gear like gloves and goggles is also crucial.
Where to Source Materials
You can find most materials at local hardware stores or online suppliers. For those looking to save money, consider sourcing wood from reclaimed sources, which adds character and can be environmentally friendly.
Building the Desk: Step-by-Step
With your plan and materials ready, it’s time to start building. Here’s a step-by-step guide:
Step 1: Cut Your Materials
Measure twice, cut once. Use your design as a template to cut the desktop and legs to size. Ensure all cuts are straight and smooth to avoid alignment issues later.
Step 2: Assemble the Frame
Start by building the frame that will support your desktop. Depending on your design, this might be a simple box frame or something more elaborate. Use brackets and screws for a sturdy build.
Step 3: Attach the Legs
Secure the legs to the frame. Ensure they are evenly spaced and perpendicular to the desktop for balance.
Step 4: Mount the Desktop
Once your frame is complete, attach the desktop. Use brackets to secure it, ensuring it’s level and stable. Double-check the height to ensure it aligns with ergonomic best practices.
Step 5: Add Finishing Touches
Sand any rough edges and apply your chosen finish. This might be paint, stain, or varnish, depending on your aesthetic preference. Allow ample time for drying before use.
Incorporating Cable Management and Accessories
A clean desk setup not only looks good but also makes gaming more enjoyable. Consider adding a cable management system to keep wires organized and out of sight. This could be as simple as using adhesive clips or as complex as built-in channels under the desk.
Accessorize your desk with monitor stands, keyboard trays, or headphone hooks to keep everything in place and within reach.
Maintaining Your DIY Gaming Desk
Once your desk is complete, maintaining it is crucial for longevity. Regularly check for loose screws or brackets and tighten them as needed. Depending on your material choice, you may need to reapply finishes to protect against wear and tear.
Keep your desk clutter-free with periodic cleaning. This not only prolongs its life but also enhances your gaming experience by providing a distraction-free environment.
Common Mistakes to Avoid
Embarking on a DIY project isn’t without its challenges. Here are some common pitfalls and how to avoid them:

- Skipping the Planning Stage: Failing to plan can lead to a mismatch between your desk and your space or needs.
- Ignoring Ergonomics: A desk that isn’t ergonomic can lead to discomfort and health issues over time.
- Poor Quality Materials: Using low-quality materials may save money upfront but can lead to a less stable and durable desk.
- Overcomplicating the Design: Keep your design within your skill level to avoid frustration and ensure a successful build.
With these tips and steps, you’re now ready to build a gaming desk that not only meets your gaming needs but also reflects your personal style.

Unlock Full Article
Watch a quick video to get instant access.