
Building a custom water-cooling loop for your gaming PC is a rewarding project that not only enhances performance but also adds a unique aesthetic to your setup. Whether you’re looking to overclock your CPU or GPU, or simply want a quieter, cooler system, water cooling is a great solution.
Why Choose Water Cooling?
While air cooling is sufficient for most gaming PCs, water cooling offers several advantages when aiming for higher performance. Water can dissipate heat more effectively than air, allowing components to run cooler and potentially extend their lifespan. Additionally, water cooling can allow for quieter operation since fans can run at lower speeds.
Another attractive feature of water cooling is the customization it offers. You can choose various colors and designs for your tubing and coolant, making your PC not just a tool but a masterpiece tailored to your style.
Essential Components of a Water-Cooling Loop
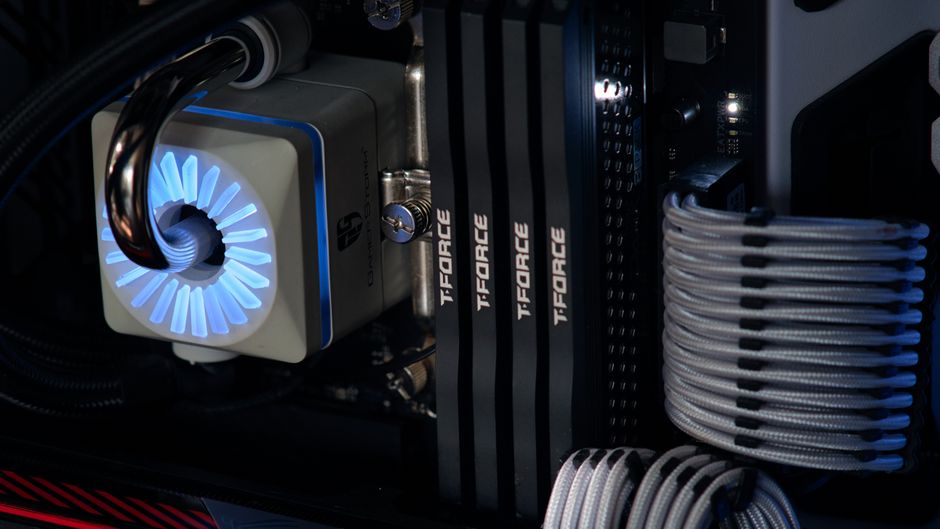
Building a custom water-cooling loop involves several key components that work together to keep your PC cool:
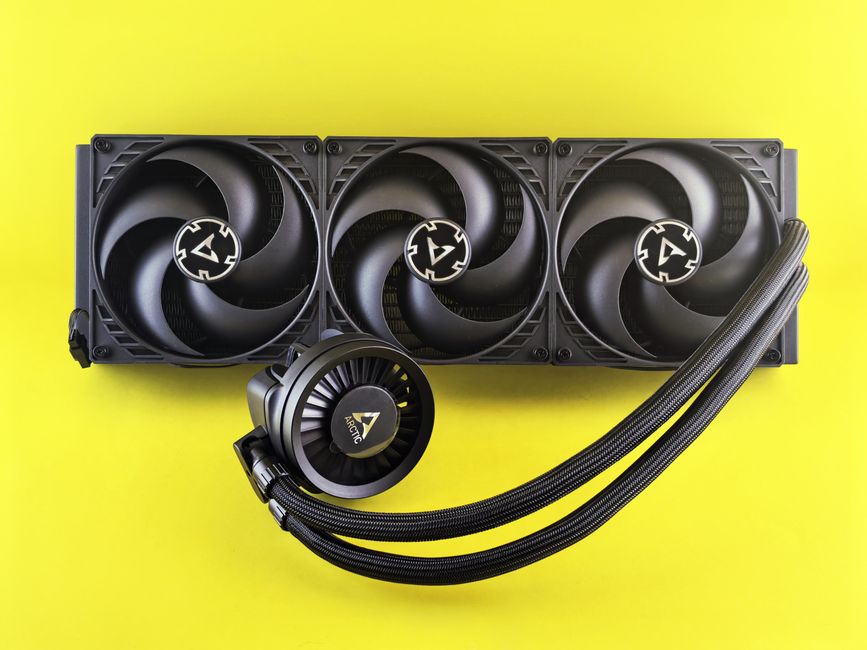
- Radiator: This component is responsible for dissipating the heat extracted from your components. Choose a radiator that fits your case and has enough capacity, typically measured by the number of fans it can hold.
- Pump: The pump moves the coolant through the loop. A reliable pump is crucial for maintaining consistent flow rates and avoiding overheating.
- Water Block: These are specialized blocks that sit on top of your CPU and GPU to absorb heat directly from these components.
- Reservoir: The reservoir holds extra coolant and helps to remove air bubbles from the system, aiding in consistent flow.
- Tubing and Fittings: These connect all the components in the loop. Choose tubing that fits your aesthetics and fittings that ensure leak-free connections.
- Coolant: This is the liquid that circulates in your loop. Available in various colors, the coolant is crucial for transferring heat effectively.
Setting Up Your Custom Loop
The first step in setting up a custom water-cooling loop is planning. Start by determining the layout that will fit your PC case and consider how the loop will flow from one component to the next. A common approach is to follow this sequence: reservoir > pump > CPU block > GPU block > radiator > back to reservoir.
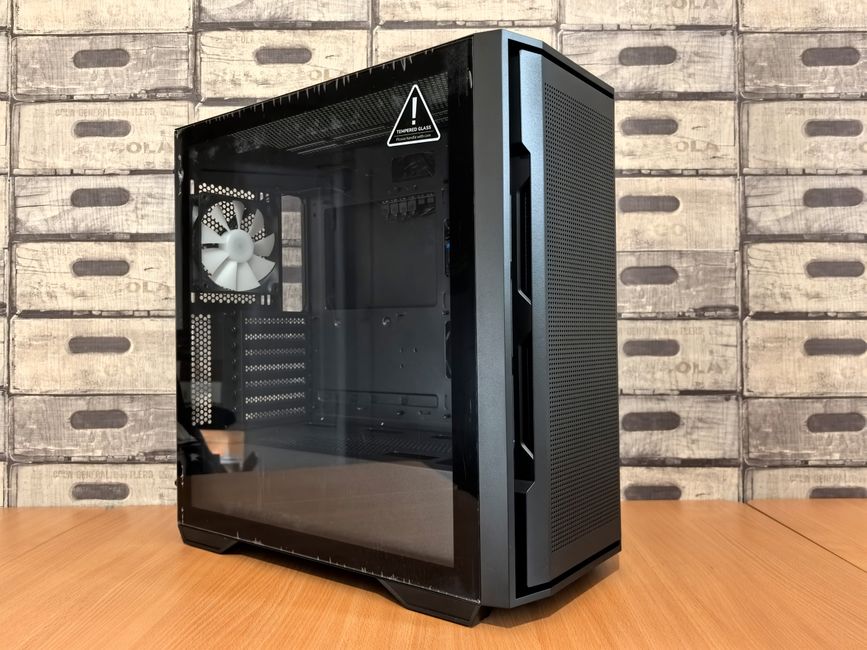
Begin by installing the water blocks on the CPU and GPU. Follow the instructions provided with each block to ensure proper installation. Next, mount the radiator in a location that offers good airflow, usually at the top or front of the case.
Connect the components using tubing, cutting it to the necessary lengths to avoid kinks. Secure the tubing with fittings and double-check all connections to prevent leaks.
Filling and Testing the Loop
Once everything is connected, it’s time to fill the loop with coolant. Slowly pour the coolant into the reservoir while the pump is off. Once filled, run the pump to circulate the coolant, keeping the PC off to prevent overheating if any issues arise.
Check for leaks by running the loop for several hours outside of the main system’s power. Ensure all connections are secure and tighten any that may show signs of leaking.
Maintaining Your Water-Cooling System
Proper maintenance is crucial for the longevity and performance of your water-cooling loop. Regularly check the coolant level and top it off as necessary. Every few months, inspect the loop for leaks or any buildup inside the tubing. It’s also advisable to replace the coolant annually to avoid any sediment buildup that could clog the system.
Keep the radiator and fans free of dust for optimal heat dissipation. A compressed air can be an effective tool for this task.
Common Mistakes to Avoid
Avoid these common mistakes when building your custom loop:
- Not planning the loop layout: Without a clear plan, you might end up with unnecessary tubing length, complicating the loop unnecessarily.
- Choosing incompatible components: Ensure that all parts, especially fittings and tubing, are compatible in size.
- Neglecting maintenance: Regular checks and maintenance are critical to prevent leaks and ensure efficient cooling.
- Overfilling the reservoir: This can lead to spills and potential damage if the liquid escapes into the PC components.
By following this guide, you’ll transform your gaming PC into a high-performance, aesthetically pleasing machine that runs cooler and quieter.

Unlock Full Article
Watch a quick video to get instant access.