For gaming enthusiasts, there’s nothing quite like the nostalgia of playing classic video games. With the advancement of technology, it’s now possible to recreate the retro gaming experience using modern devices like the Raspberry Pi. This guide will walk you through the process of building your own retro gaming console, combining old-school charm with today’s tech.
Why Build Your Own Retro Gaming Console?
Building your own retro gaming console offers several benefits. First, it provides a personalized gaming experience. You can choose which games to include, tailoring the library to your preferences. Second, it’s a cost-effective way to enjoy a vast array of classic games without purchasing multiple old consoles and cartridges. Finally, the project itself is a rewarding DIY experience, combining the thrill of gaming with the satisfaction of creating something unique.
Choosing the Right Hardware
The heart of your retro gaming console will typically be a single-board computer like the Raspberry Pi. The Raspberry Pi is popular due to its affordability, versatility, and the vast community support it offers. When selecting your Raspberry Pi model, consider factors such as processing power and available memory. Newer models usually provide better performance for emulation.
Other Essential Components
- MicroSD Card: You’ll need a microSD card to store the operating system and games. Ensure it has enough storage capacity for your gaming library.
- Power Supply: A reliable power source is crucial for smooth operation. Make sure it’s compatible with your Raspberry Pi model.
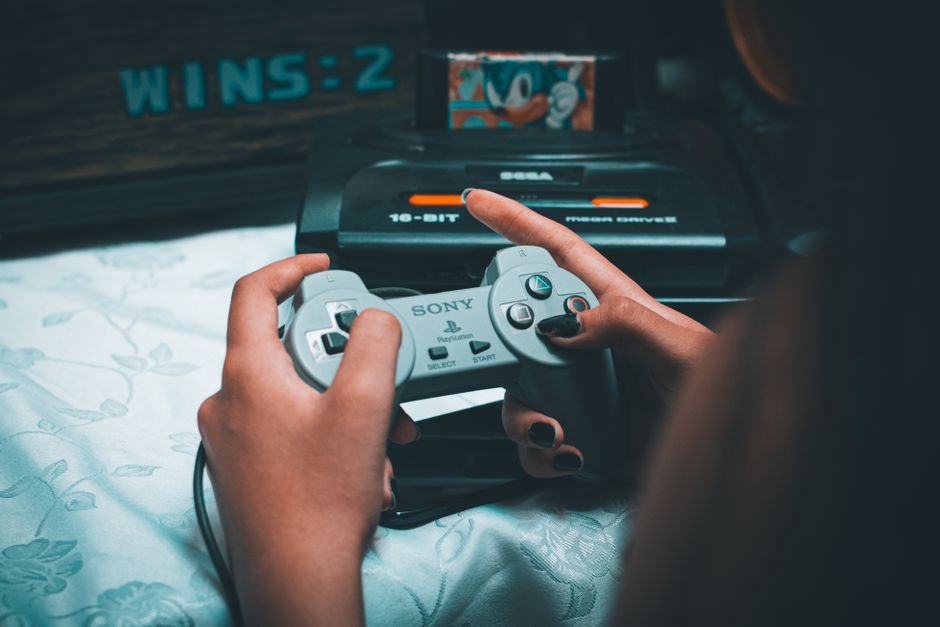
- Controller: Choose a USB or Bluetooth controller. Modern replicas of old-school controllers can enhance the nostalgic experience.
- HDMI Cable: This will connect your setup to a display, providing the visual output needed for gaming.
Setting Up Software and Emulators
Once your hardware is ready, the next step is setting up the software. RetroPie is a popular choice for emulating retro games on a Raspberry Pi. It supports a wide range of classic gaming systems and provides a user-friendly interface.
Installing RetroPie
- Download the RetroPie image from the official website.
- Use a tool like Balena Etcher to flash the image onto your microSD card.
- Insert the microSD card into the Raspberry Pi and power it up. Follow the on-screen instructions for initial setup.
RetroPie also allows for customization, such as adding themes or configuring emulator settings to fine-tune your gaming experience.
Adding Games
To play games, you’ll need to obtain ROM files for the titles you wish to play. It’s important to note that you should only download ROMs for games you legally own. Once you have the ROMs, transferring them to your RetroPie setup can be done via USB drive or through a network connection.
Organizing Your Game Library
Keeping your game library organized can enhance your experience. RetroPie allows you to categorize games by console or genre, making it easier to browse and select your favorites.
Common Mistakes to Avoid
Building a retro gaming console can be straightforward, but there are common pitfalls:
- Overloading the System: Avoid running too many high-demand games simultaneously, as it can cause performance issues.
- Ignoring Updates: Regularly updating your software can resolve bugs and improve functionality.
- Legal Compliance: Ensure you have the rights to any games you download to avoid legal issues.
Enhancing Your Console
Once your retro gaming console is up and running, consider customizing it further. You might add LED lights for a retro look, create a custom case for aesthetic appeal, or even set up a wireless controller system for greater convenience.
Building your own retro gaming console is more than just a nostalgic trip down memory lane; it’s an engaging project that combines the passion for gaming with the joy of DIY creation. By following this guide, you’ll have a personalized console that reflects your unique gaming preferences.

Unlock Full Article
Watch a quick video to get instant access.