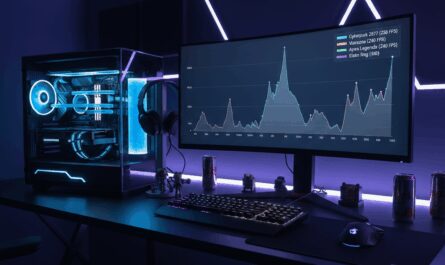
Managing the heat in your gaming PC is crucial for performance and longevity, especially if you’re running intensive applications and games. While air cooling is common, a DIY water cooling system can offer superior cooling efficiency. This guide walks beginners through setting up a basic water cooling loop to ensure your components run cooler and quieter.
Understanding Water Cooling Basics
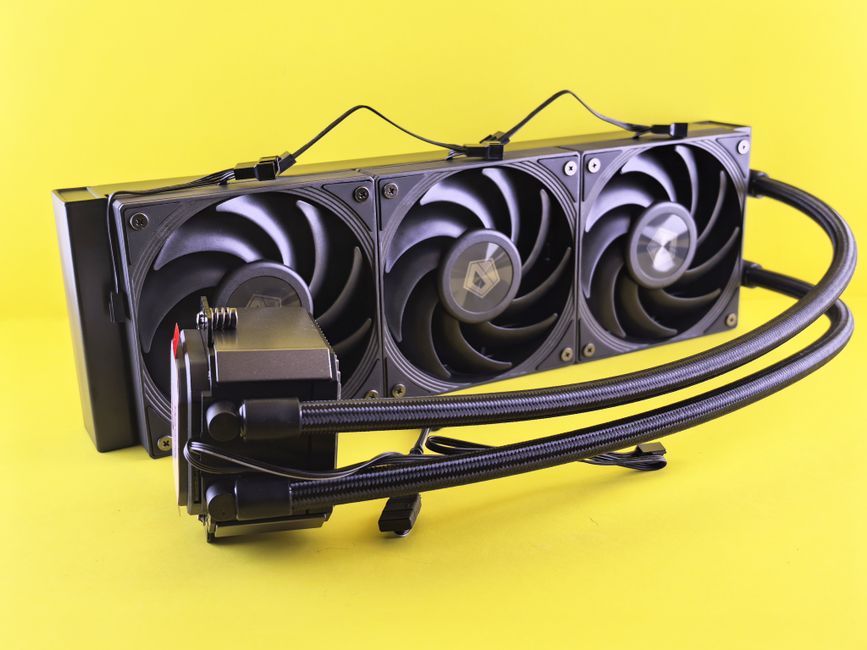
Water cooling works by transferring heat from your PC components to a radiator where it is dissipated into the air. This method is often more efficient than traditional air cooling because water has a higher thermal conductivity than air. A basic water cooling loop consists of a reservoir, pump, radiator, fans, tubing, and water blocks attached to your CPU and GPU.
Components Explained
- Reservoir: Holds extra water and helps maintain the loop pressure.
- Pump: Circulates the liquid throughout the system.
- Radiator: Cools the liquid with the help of fans.
- Water Blocks: Attach to the CPU and GPU, transferring heat from the components to the liquid.
- Tubing: Connects all components and transports the liquid.
- Coolant: Special liquid designed for heat transfer and minimal corrosion in the loop.
Planning Your Water Cooling Loop
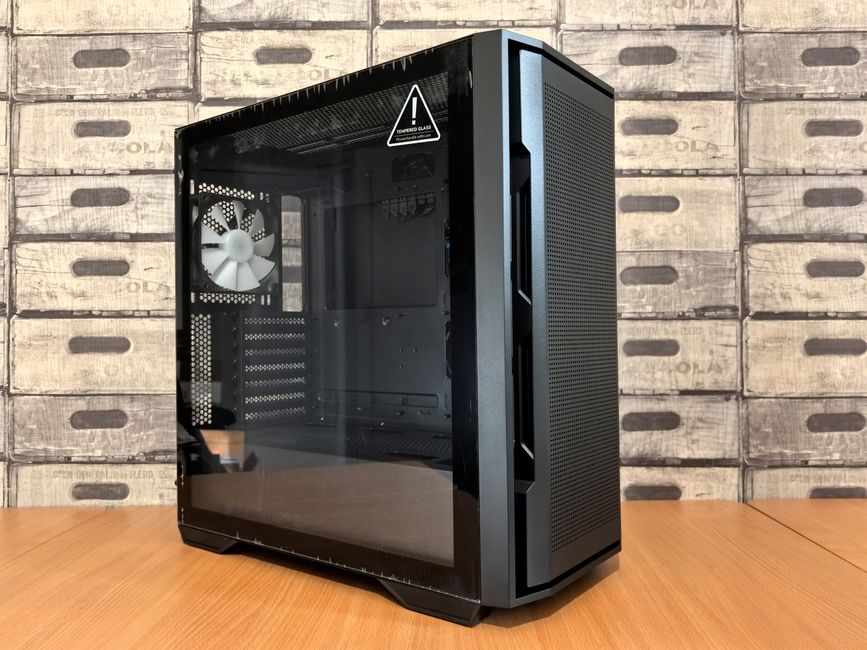
Before purchasing components, plan your loop layout. Consider the size of your case and the placement of components. Ensure your case supports a radiator and has enough space for tubing. Decide whether you’ll cool only the CPU or the GPU as well. If you choose both, you may need a larger radiator or dual radiators.
Choosing the Right Components
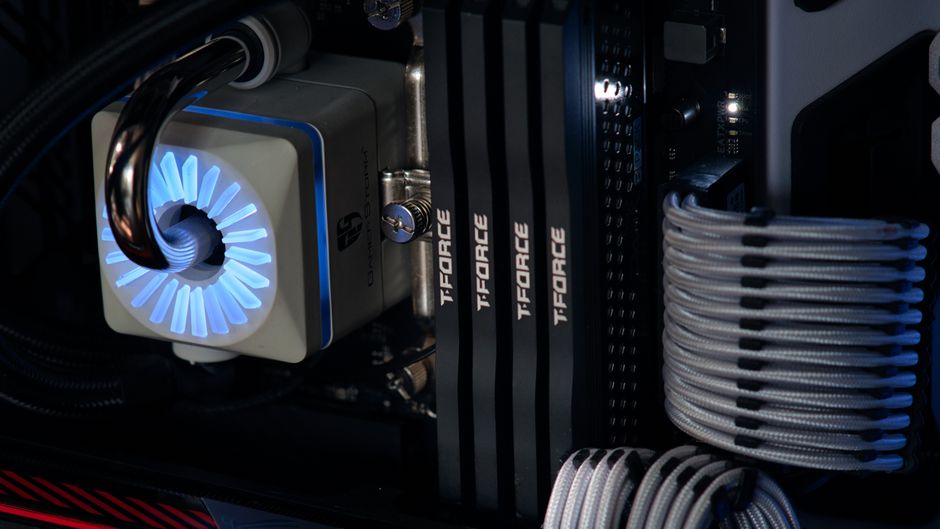
Select a pump and reservoir combination that fits your case and meets your cooling needs. Look for a radiator size compatible with your case, typically between 120mm and 360mm. High-quality water blocks are essential for effective cooling, so choose blocks specifically designed for your CPU and GPU models.
Building Your Water Cooling System
Once you have all the components, it’s time to start the assembly. Follow these steps for a successful installation:
- Install Water Blocks: Begin by installing the water blocks on your CPU and GPU. Follow the manufacturer’s instructions for mounting and applying thermal paste.
- Mount the Radiator: Secure the radiator to your case. Ensure fans are installed in a push or pull configuration to optimize airflow through the radiator.
- Install the Reservoir and Pump: Position the reservoir and pump in your case. They are often combined into a single unit for ease of installation.
- Connect the Tubing: Cut and attach the tubing between components. Use hose clamps or fittings to ensure a secure connection. Plan the loop to minimize tubing length and avoid sharp bends.
- Fill the Loop: Carefully fill the reservoir with coolant. Watch for leaks and ensure all connections are tight. Run the pump without powering other components to circulate the coolant and remove air bubbles.
- Leak Test: Conduct a leak test by running the pump for several hours with the computer off. Check all connections for leaks and fix any issues before proceeding.
Maintaining Your Water Cooling System
Regular maintenance is key to keeping your system running efficiently. Every few months, check for leaks and ensure fans and radiators are dust-free. Replace the coolant annually to prevent contamination and algae growth. Always use a non-conductive coolant to reduce the risk of damage from leaks.
Common Mistakes to Avoid
As a beginner, certain mistakes can compromise your system’s performance. Avoid using incompatible components, as they can lead to leaks or reduced cooling efficiency. Ensure your tubing is cut to the right length to prevent kinks, and use proper fittings to avoid leaks. Additionally, always perform a leak test before powering the system fully.
Conclusion
A DIY water cooling system can significantly enhance your gaming PC’s cooling capabilities, reducing noise and improving performance. By understanding the components and following a careful installation process, even beginners can achieve a custom cooling solution that meets their needs. With regular maintenance, your water cooling system will provide efficient cooling for years to come.

Unlock Full Article
Watch a quick video to get instant access.